
How to connect Database in Java using Netbeans PDF
Today I am going to tell you about by the medium of this article that “How to connect Database in Java using Netbeans PDF?” This article give you a brief detail about Database, Different databases, Importance of Database. Also in this article we are going to discuss about these:-
- How to connect mysql database in java using netbeans pdf.
- How to connect ms access database in java using netbeans pdf.
So let’s start –
First of all I am going to provide you a brief detail of database.
What is
database?
A database is a collection of well managed large data or information, So it is easy to retrieve any information, update data, make any change or delete any unwanted data.
- Because of databases, it is very easy to get full control on very huge data with a great speed.
- Database Management System provides several quires and commends that make the interaction with very large data very easy and fast.
- They requires less memory and provides quick access.
- By using database we can also maintain the security of data because only authorize person can access the database by using User ID and Password.
Different database
There are database services that provides different features and function. By knowing different features of different database we can choose a perfect database for us.1. MySQL Database
2. MS Access Database
3. Oracle Database
How to connect mysql database in java using netbeans pdf?
It is a step by step process. We are going to divide this whole process into two phase.
Phase 1 = Downloading JDBC Driver phase.
Phase 2 = Making a new connection.
Phase 1:
1. 1.Firstly we have to download the JDBC Driver to connect mysql database in java.
2. 2. To download JDBC Driver click on this URL https://dev.mysql.com/downloads/connector/j/
OR visit the official web page of MySQL Database. Here you will see this image like interface.
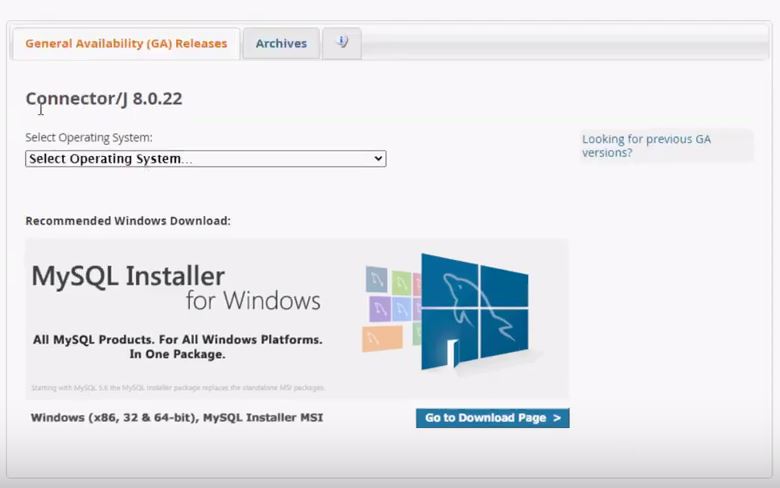
3. 3. In Select Operating System… option select Platform Independent and click on the second Download button of .ZIP file

4. 4.Now click on No thanks, just start my download after this your downloading will start.

5. 5. Now open the downloaded file by clicking on Show in folder. Then extract this ZIP file.
6. 6. To extract the ZIP file right click on it and click on Extract here.
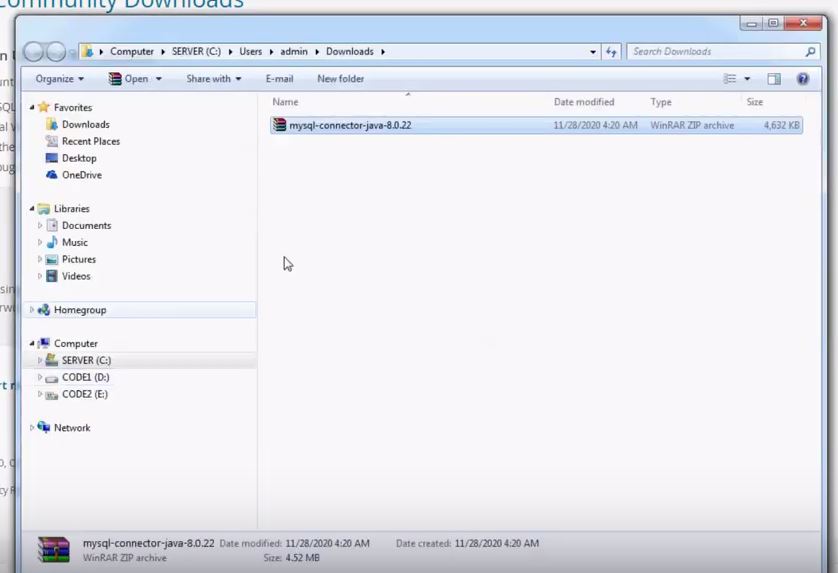
7. 7. Open the extracted file and you will see a mysql-connector-java-8.0.22 Jar file in it. It is the main file that we are going to use.

Phase 2:
1. Open Apache NetBeans IDE and click on menu Window.

1. Now a drop down menu obtain and in this drop down menu click on Services button or press Ctrl+5.

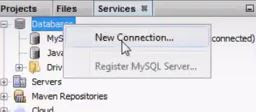
2. After this below image like changes occurs in the left corner.

3. Now right click on Databases then click on New Connection.
4. A new connection wizard dialog box open. In this click on Add button.

5. After this Select Dialog box open and select the mysql-connector-java-8.0.22 Jar file from where you save it and click on Open button then click on next button.
6. Now specify the database name and provide a password, which is easy to remember you. After that click on Test Connection.

7. At the bottom of dialog box a message show “Connection succeeded” if connection is established. Now click on Next button then again click on Next button.

8. After that enter Input connection name: and click on finish button.

9. After finishing this at the left, in service corner you will see a new new database was created.

To download the PDF file Click Here.
That’s all you will connect with MySQL Database.


No comments: